
Have you ever bitten into a perfectly chewy piece of mochi and wondered how this delightful Japanese treat is made? Mochi’s unique texture—simultaneously soft, stretchy, and satisfyingly chewy—makes it one of Japan’s most beloved culinary treasures. Whether you’re planning a Japanese-themed gathering or simply want to try your hand at this traditional delicacy, learning how to make mochi in 7 steps will give you a taste of authentic Japanese culture right in your own kitchen.
What Exactly Is Mochi?
Before diving into how to make mochi in 7 steps, let’s understand what this fascinating food actually is. While often described as a “Japanese rice cake” in Western dictionaries, mochi is more accurately a sticky, elastic dough made from glutinous rice that has been pounded into a smooth, cohesive mass.
This versatile food serves as the foundation for numerous Japanese dishes, from sweet confections filled with red bean paste to savory soups where mochi cubes float in flavorful broth. During New Year celebrations, mochi holds special cultural significance, symbolizing good fortune and prosperity for the coming year.
If you’re interested in expanding your Japanese culinary knowledge beyond mochi, you might enjoy exploring my guide on essential Japanese vegetable names to further enhance your authentic cooking adventures.
The Traditional Mochitsuki Experience
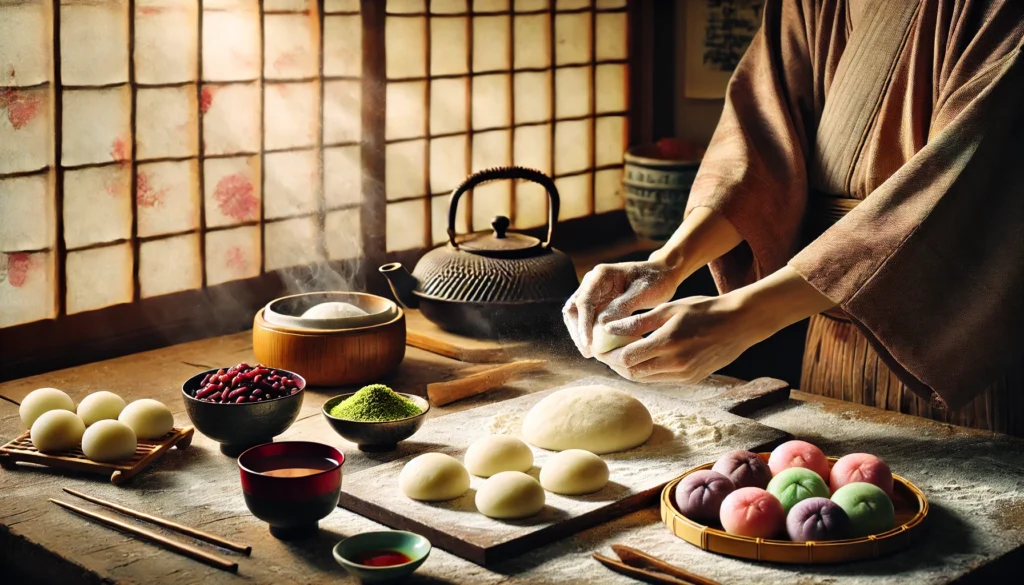
In Japan, making mochi the traditional way is called mochitsuki (餅搗き), which combines the kanji for mochi (餅) and “pounding” (搗き). This traditional process often becomes a community event, especially during New Year celebrations and at schools.
At these gatherings, family members, neighbors, and friends take turns pounding the rice with large wooden mallets while another person folds and wets the mochi between strikes. The atmosphere is festive and collaborative, turning what could be a laborious task into a joyful cultural experience.
Essential Ingredients for Making Mochi
Before we explore how to make mochi in 7 steps, let’s gather the necessary ingredients:
Primary Ingredients:
- Mochigome (もち米) – This short-grain glutinous rice is the star ingredient and cannot be substituted with regular rice. Despite its name, glutinous rice contains no gluten; the term refers to its sticky quality. You can find mochigome in Asian grocery stores or online specialty shops.
- Water – Simple but crucial, water serves two vital purposes in mochi making:
- Achieving the perfect consistency
- Preventing the mochi from sticking to tools and surfaces
Optional Flavorings and Coatings:
- Kinako (きな粉) – Roasted soybean flour sweetened with sugar makes a popular coating
- Anko (餡子) – Sweet red bean paste for filling
- Matcha powder – For green tea-flavored mochi
- Sugar – To add sweetness to the mochi itself
- Potato or corn starch – For dusting to prevent sticking
Traditional Mochitsuki Tools
If you’re making mochi the traditional Japanese way, these are the tools you’d use:
- Seirou (蒸籠/せいろう) – Wooden steaming baskets to cook and keep the mochigome hot
- Usu (臼/うす) – Large, heavy wooden mortars that hold the rice during pounding
- Kine (杵/きね) – Wooden mallets of varying sizes used to pound the rice
- Wooden cutting board – For shaping and cutting the finished mochi
Don’t worry if you don’t have access to these traditional implements. In the modern method I’ll share, you’ll need just a few common kitchen tools.
How to Make Mochi in 7 Steps: Modern Method
While traditional mochitsuki requires specialized equipment and multiple people, this simplified modern method allows you to make delicious mochi at home with minimal tools and effort.
Step 1: Prepare the Mochigome
Ingredients needed:
- 2 cups mochigome (glutinous rice)
- Water for soaking and cooking
Instructions:
- Rinse the mochigome thoroughly until the water runs clear
- Soak the rice in water for at least 6 hours, preferably overnight
- Drain the soaked rice completely
The soaking process is crucial as it helps the rice absorb moisture, resulting in a more cohesive texture after cooking. Don’t skip this step!
Step 2: Cook the Mochigome
Equipment needed:
- Rice cooker or steamer
- Large mixing bowl
Instructions:
- If using a rice cooker: Add the soaked mochigome and fresh water according to your rice cooker’s instructions for sticky rice
- If using a steamer: Line a steamer basket with cheesecloth, add the soaked rice, and steam for about 30-40 minutes until completely tender
- The rice should be very soft and sticky when properly cooked
While your rice cooks, prepare your workspace by clearing a clean counter and gathering your tools for the next steps.
Step 3: Transfer and Begin Processing the Rice
Equipment needed:
- Food processor, stand mixer with paddle attachment, or a very sturdy potato masher
- Large heat-resistant bowl
Instructions:
- Transfer the hot cooked rice to your processing tool of choice
- If using a food processor, pulse in short bursts
- If using a stand mixer, mix on low speed
- If using a potato masher, begin mashing vigorously
- The goal is to break down the individual rice grains into a cohesive mass
The rice must be processed while hot to achieve the proper sticky consistency. Be careful when handling as it will be very hot at this stage.
Step 4: Add Water and Continue Processing
Ingredients needed:
- 1/4 cup hot water (more or less as needed)
Instructions:
- As you process the rice, gradually add small amounts of hot water
- Continue processing until the rice transforms from a lumpy mixture into a smooth, stretchy dough
- The texture should be cohesive and slightly sticky but not wet
This step mimics the traditional kneading and pounding process. The mochi should begin to develop its characteristic chewy texture.
Step 5: Knead and Stretch the Mochi
Equipment needed:
- Clean work surface dusted with cornstarch or potato starch
- Bowl of cold water for wetting your hands
Instructions:
- Turn the mochi onto the dusted surface
- Wet your hands to prevent sticking
- Knead the mochi by folding and pressing it repeatedly
- Occasionally stretch the mochi by pulling it up and folding it back onto itself
- Continue until the texture becomes extremely smooth and elastic
This step develops the glutinous qualities that give mochi its signature chewiness. The more you work it, the chewier your final product will be.
Step 6: Shape the Mochi
Equipment needed:
- Additional cornstarch or potato starch for dusting
- Knife or bench scraper
- Optional: fillings such as anko (sweet red bean paste)
Instructions:
- Dust your work surface generously with starch
- Flatten the mochi to your desired thickness (usually about 1/2 inch)
- For plain mochi pieces: Cut into squares or use a round cutter
- For filled mochi: Divide into golf ball-sized portions, flatten each into a disc, add a small amount of filling, then pinch the edges closed to seal
The mochi will be very sticky, so be generous with the starch. Work quickly as mochi becomes more difficult to handle as it cools.
Step 7: Finish and Store Your Mochi
Equipment needed:
- Airtight container
- Optional: Additional coatings like kinako, cocoa powder, or matcha powder
Instructions:
- Dust the finished mochi pieces with your preferred coating
- Allow to rest for 15-30 minutes
- Store in an airtight container, separating layers with parchment paper
- Keep at room temperature for up to 2 days or refrigerated for up to 1 week
Freshly made mochi is at its best texture-wise. If refrigerated, bring to room temperature before serving, or gently warm to restore softness.
Troubleshooting Your Mochi-Making Process
Even experienced mochi makers encounter challenges. Here are solutions to common issues:
Too Sticky
- Problem: Mochi sticks to everything and is difficult to handle
- Solution: Add more starch to your work surface and tools. Keep your hands moistened with water when handling.
Too Firm
- Problem: Mochi is tough rather than pleasantly chewy
- Solution: You may have overcooked the rice or not added enough water during processing. Try adding a small amount of hot water and reprocessing.
Uneven Texture
- Problem: Lumps of rice remain in your mochi
- Solution: The rice wasn’t processed thoroughly enough. Return to the food processor and continue until smooth.
Drying Out
- Problem: Mochi develops a skin or dries quickly
- Solution: Work more quickly and keep the mochi covered with a damp cloth when not actively handling it.
Modern Variations to Try
Once you’ve mastered how to make mochi in 7 steps, consider these delicious variations:
Sweet Mochi Variations:
- Fruit-filled mochi – Use fresh strawberries or mango pieces
- Chocolate mochi – Add cocoa powder to the mochi and fill with chocolate ganache
- Matcha mochi – Mix matcha powder into the dough for a green tea flavor
- Ice cream mochi – Wrap small balls of ice cream in thin mochi (requires freezing between steps)
Savory Mochi Applications:
- Grilled mochi (Isobeyaki) – Brush with soy sauce and grill until puffy
- Ozoni – Traditional New Year soup with mochi
- Mochi in hot pot dishes – Add to your favorite nabe recipes
If you’re interested in more Japanese culinary traditions, check out my article on Japanese fruits vocabulary to expand your knowledge of authentic ingredients.
The Cultural Significance of Mochi
Beyond its delicious taste and unique texture, mochi carries deep cultural significance in Japan:
- New Year celebration (Oshogatsu) – Kagami mochi (mirror mochi) is displayed as an offering and symbol of good fortune
- Children’s Day (Kodomo no Hi) – Kashiwa mochi wrapped in oak leaves is a traditional treat
- Girl’s Day (Hinamatsuri) – Colored diamond-shaped mochi called hishi mochi is served
- Moon Viewing (Tsukimi) – Round mochi symbolizes the full moon during autumn celebrations
Learning how to make mochi in 7 steps connects you to these rich traditions and offers a glimpse into Japanese cultural practices that have endured for centuries.
Health Considerations When Enjoying Mochi
While delicious, mochi comes with a few health considerations to keep in mind:
- Choking hazard – Due to its stretchy texture, mochi should be eaten in small bites and chewed thoroughly
- Caloric density – Traditional mochi is primarily carbohydrates; enjoy in moderation
- Allergies – Consider potential reactions to rice or added ingredients like soybean flour
For those interested in Japanese language and culture beyond food, my guide on how to survive in Japan with basic Japanese offers practical tips for travelers and language learners.
Conclusion: Your Journey to Mochi Mastery
Mastering how to make mochi in 7 steps opens a window into Japanese culinary tradition while rewarding you with a uniquely textured treat that can be enjoyed in countless ways. From the meditative process of preparing the rice to the satisfaction of biting into your homemade creation, mochi-making is both a culinary adventure and a cultural experience.
Whether you’re preparing for a Japanese-themed gathering, celebrating a special occasion, or simply wanting to try something new in your kitchen, these seven steps will guide you to mochi success. And remember, like many traditional foods, mochi gets better with practice—each batch you make will bring you closer to perfection.
Have you tried making mochi at home? What fillings or coatings do you enjoy most? Share your mochi-making experiences in the comments below!
Looking to expand your Japanese cooking repertoire? Explore my comprehensive guide on essential Japanese vegetable names to create even more authentic dishes in your home kitchen.